

PIM Manager documentation · Verified against PIM Manager 3.0.23.3 on Nov 3, 2026
MSP: how to roll a change to one wave
When the managing tenant replicates a new admin or delegation to every customer at once, one mistake reaches every customer at once. Waves let you send a change to a small group of managed tenants first, check it there, and then widen it step by step.
Available in the Pro MSP edition; not in Community. You do every step in the managing tenant’s PIM Manager.
How waves work
- The waves. By default there are three, numbered 0, 1 and 2: wave 0 for a few early tenants, wave 1 for more, wave 2 for every managed tenant. You can rename them and add more, up to ten.
- A tenant’s wave. Each managed tenant is in one wave. The managed tenant declares its own wave when it is built, and that wave decides what its pull accepts. The managing tenant keeps a copy of each tenant’s wave in its registry and uses it for its previews. PIM Manager does not keep the two in step: when they differ, the preview is wrong for that tenant, and the tenant’s own wave decides. Change both when you move a tenant to another wave.
- A row’s wave. Every replicated admin, group, nesting and role binding can carry a wave. A row on wave N reaches the managed tenants whose wave is N or lower. A row on wave 0 reaches only the tenants on wave 0; a row on wave 2 reaches all of them.
- A row with no wave. A replicated admin with no wave reaches no managed tenant. Any other replicated row with no wave is not limited by wave and reaches every managed tenant at once. Set a wave on every row you roll out this way.
- Tag rules. A wave can be narrowed with a tag rule, for example
tag:region:eu, so that only the tenants on that wave with that tag count.
The screens label a wave ring: the card Deployment rings, the column Ring and the action Move to ring:.
What you need
- A managing tenant with registered managed tenants.
- The Admin role in PIM Manager to stage and commit the change. The SuperAdmin role to edit the registry or the waves.
Step 1: check who is in each wave
- Open Reviews & controls > Managed tenant registry.
- The Deployment rings card lists each wave with its Name, its Tag rule, A row on this ring reaches and Tenants on this ring. A tenant on the wave that the tag rule leaves out is marked not a member (gets nothing).
- Below it, the table lists every managed tenant with its wave (the managing tenant’s copy) and its Tags.
- To narrow a wave, a SuperAdmin fills in its Tag rule and presses Save rings.
Step 2: put the change on the first wave
You set the wave on the records themselves.
- Open the records: Access > Delegations — all rows for delegations, or Access > All records and the record type for admins and groups.
- Tick the rows you want to roll out.
- In the action bar, at Set replication to:, choose Replicate to managed tenants and press Apply, if the rows do not replicate yet.
- At Move to ring:, choose 0 and press Apply.
The change is staged, not saved. For a new admin, start on wave 0.
When you create access with the wizards under Access > Create access, the section Replication to managed tenants asks the same questions.
Step 3: commit and publish
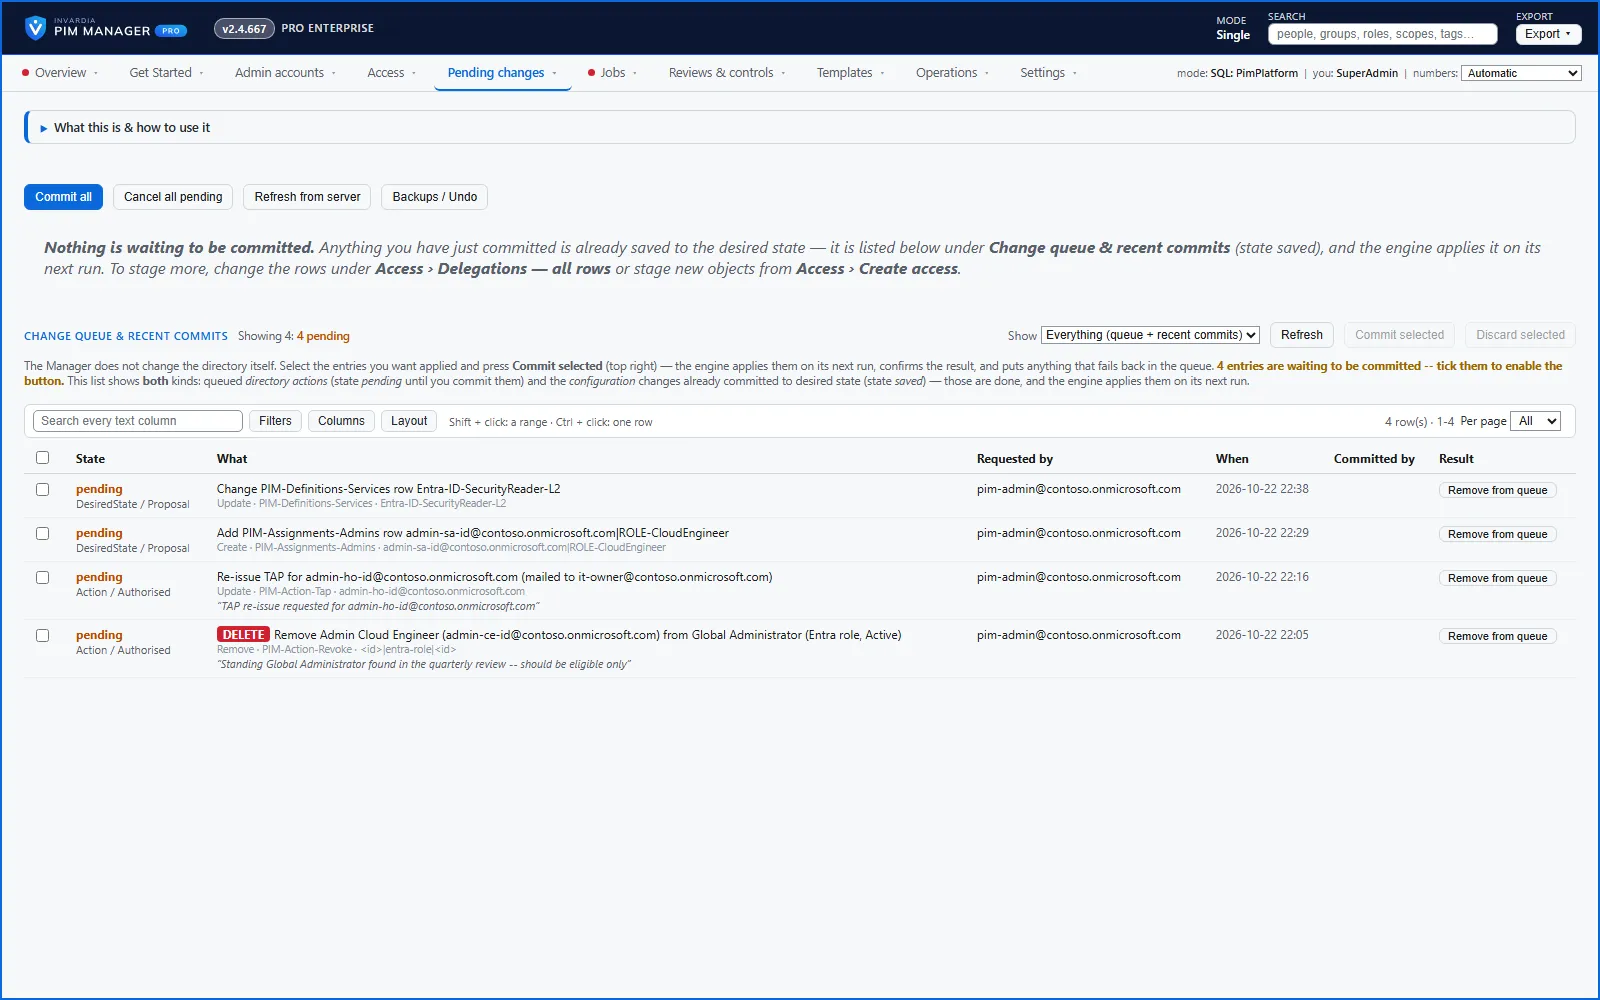
- Open Pending changes > Review & commit queue, check the rows and press Commit all.
- A commit that changes what is published requests a publish of the signed baseline. To start it yourself, open Jobs > Job schedule and press Publish now on its row.
- Each managed tenant applies the change on its next pull.
Check the result
- Open Reviews & controls > Replication overview.
- Choose a managed tenant under Tenant to see what it gets, or leave All managed tenants.
- Each row shows its Replicate choice, its Ring (the wave), its Target and Reaches: how many managed tenants it reaches and which. A row that reaches no tenant says why.
- In the PIM Manager of a managed tenant on wave 0, the replicated rows appear marked as received from the managing tenant.
The overview runs the same plan every managed tenant runs, with the managing tenant’s copy of each tenant’s wave.
Step 4: widen it
When the change works on wave 0:
- Select the same rows, choose 1 at Move to ring: and press Apply. PIM Manager notes that the reach is wider.
- Commit under Pending changes. The tenants on wave 1 receive the change on their next pull.
- Repeat with 2 to reach every managed tenant.
Undo
- Stop it from spreading: move the rows back to a lower wave and commit. Tenants above that wave no longer receive the rows, but a tenant that already holds them keeps them: a row a wave does not admit is withheld, not retracted.
- Take it out of tenants that already have it: remove the row on the managing tenant. PIM Manager asks whether the managed tenants remove it too, in all of them or only the ones you pick. The chosen tenants remove it on their next pull.
Related pages
Verified against PIM Manager 3.0.23.3 on Nov 3, 2026Download PDF
← How to find the least-privileged role for a taskHow to activate with the PIM Activator →