

PIM Manager documentation · Verified against PIM Manager 3.0.23.3 on Nov 3, 2026
How to delegate a Power BI workspace
Power BI workspace roles are usually given to people by hand, they do not expire unless someone removes them, and your access reviews do not see them. This guide gives a workspace role to a PIM group, so people reach the workspace only through a membership they activate.
What you need
- The Admin role in PIM Manager.
- A Pro edition: the Power BI connector and Discovery & gaps are available in Pro editions, not in Community.
- The Power BI prerequisites, done once by a Fabric administrator:
- A security group with the engine’s identity in it. A Fabric tenant setting limited to specific principals lists security groups, not single identities, so the settings below admit the engine’s identity through this group.
- The two admin API settings. In the Fabric admin portal, under Tenant settings > Admin API settings, Service principals can access read-only admin APIs and Service principals can access admin APIs used for updates are both enabled for that security group. The engine applies the change and reads each workspace’s users through these APIs.
- The developer setting. Under Developer settings, Service principals can call Fabric public APIs is enabled for the engine’s identity, either for everyone or through that security group.
- Workspace Admin. The engine’s identity is Admin of each workspace you delegate. Power BI accepts that addition only from a person’s sign-in, so a Fabric administrator adds it once per workspace, and again for each new workspace.
The script Initialize-PimWorkloadPrereqs.ps1 checks these, creates the security group, adds the engine’s identity to it, and enables the read-only admin API setting for that group where the signed-in person may. It does not switch on Service principals can access admin APIs used for updates: that is your decision, and the script prints the exact step. With -AddEngineToWorkspaces it adds the engine’s identity as Admin of every workspace PIM Manager has delegations for. The prerequisite line on the wizard and on Discovery & gaps shows the command with your values filled in. Run it as a Fabric administrator:
iwr https://invardia.com/support/pim/Initialize-PimWorkloadPrereqs.ps1 -OutFile .\Initialize-PimWorkloadPrereqs.ps1
.\Initialize-PimWorkloadPrereqs.ps1 -Workload PowerBI -TenantId <your tenant id> -AddEngineToWorkspaces
Add -WhatIf to see what it would change first. Rights, changes and undo: Initialize-PimWorkloadPrereqs.
Levels
Workload roles follow the level rule: administrators L3, contributors L4, viewers L5. A Power BI group is tier T1 on the workload data plane. Read more in Tiers and levels.
Option A: from Discovery and gaps
Use this path for one or many workspaces. Each proposal names the workspace in the group’s name.
- Open Access > Discovery & gaps. The page opens on Status = Gap.
- Set Workload to Power BI. Each workspace that no PIM group holds a role in is listed as a gap.
- Click a workspace to expand it. It holds two proposals: a group with the Contributor role (L4) and a group with the Viewer role (L5). Each proposal is one unit: the group and its workspace role, staged together.
- Both proposals start ticked. Untick the ones you do not want.
- Press Stage N selected gaps into Pending changes.
- Open Pending changes > Review & commit queue and press Commit all.
Option B: with Delegate a permission
-
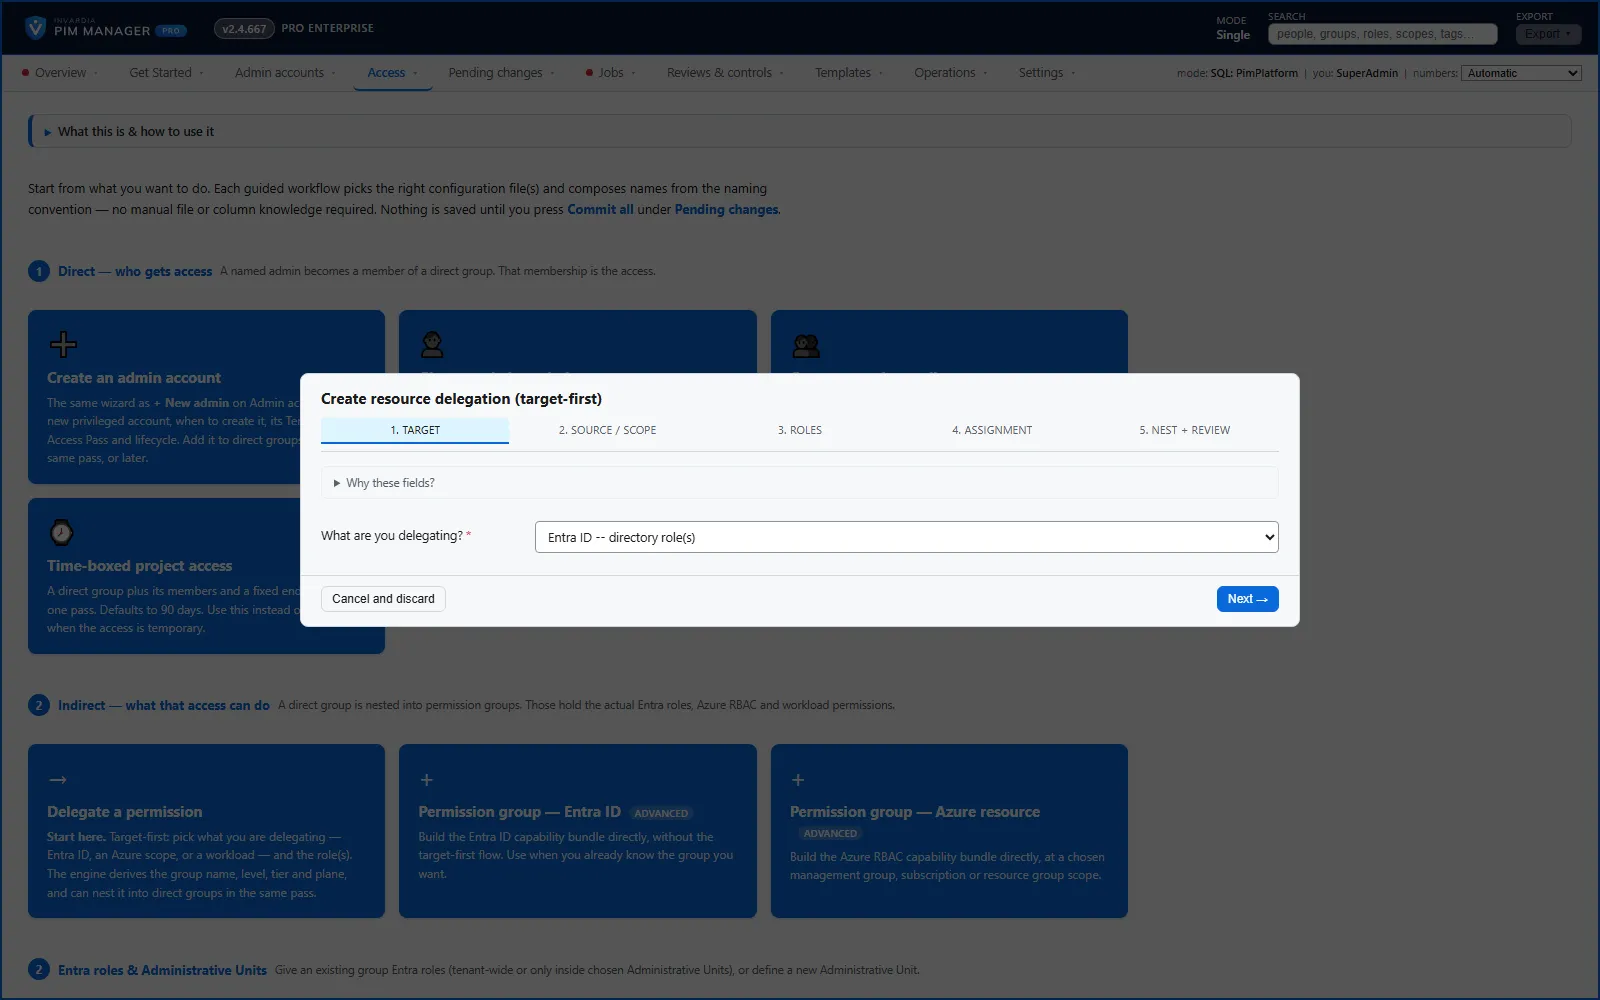
Open Access > Create access and choose Delegate a permission. The wizard Create resource delegation (target-first) opens.
-
Target: set What are you delegating? to Workload – Defender XDR / Power BI / Intune / …. Press Next →.
-
Source / scope: in Workload, choose Microsoft Power BI / Fabric (workspace roles). In Scope within the workload (optional), enter the workspace id: the part after
/groups/in the workspace’s address in Power BI. Check the prerequisite line above the fields. -
Roles: pick one role: Admin, Member, Contributor or Viewer. A workload delegation takes one role; create one delegation per role. Optionally add Owner email(s). The preview shows the group name under You’ll get – GroupName.
-
Assignment: leave the type and duration as they are; they do not apply to a workload role. Under PIM policy — activating membership of this group, keep Use default or pick a template that needs approval.
-
Nest + review: under Nest into role groups (optional), tick the role groups whose members get this workspace role.
-
Press Add to pending changes, then commit on Pending changes with Commit all.
This wizard names a workload group from the workload and the role, not from the workspace, and sets level L3 whatever the role.
Warning: use option B for one workspace only. A second workspace with the same role gets the same group name in this wizard. PIM Manager finds groups by name, so the second delegation uses the group of the first one, and its members get the role in both workspaces. For every workspace after the first, use option A: Discovery & gaps names the workspace in each group’s name.
Give the group to people
A proposal from Discovery & gaps creates the group and its workspace role, but nobody is in it yet.
- Open Access > Access map and select the new group in the What that includes column.
- Press Give to a group and pick the role groups that get it. Or select a role group and press Add permissions.
- Commit on Pending changes.
People in those role groups activate their eligible membership to reach the workspace.
Check the result
- Open Jobs > Engine logs & errors after the next run. PIM Manager is not in this Power BI workspace yet (code pim-pbi-0101, see Reference) means the engine’s identity is not Admin of that workspace yet: run the script again with
-AddEngineToWorkspaces. - On Access > Discovery & gaps, set Status to All: the workspace shows Covered, and Delegated by names the group.
- In Power BI, open the workspace’s Manage access: the group is listed with its role.
Undo
PIM Manager only adds Power BI workspace roles. It does not remove them: a removal for Power BI is refused and reported in the engine log.
- Take the delegation out of PIM Manager first, so the engine does not add it again: on Access > Delegations — all rows, remove the workload row, or undo the commit (see How to undo a commit). Commit.
- Then remove the group from the workspace in Power BI’s Manage access.
To take one person’s access away, remove them from the role group: on Access > Access map, select the person and press Remove access.
Verified against PIM Manager 3.0.23.3 on Nov 3, 2026Download PDF
← How to onboard an adminHow to delegate an Azure landing zone or subscription →