

PIM Manager documentation · Verified against PIM Manager 3.0.23.3 on Nov 3, 2026
How to delegate Defender XDR to a helpdesk
A helpdesk that must isolate or scan a user’s laptop is often given a broad security role that also reaches servers, mail and settings. This guide gives a helpdesk a narrow Defender XDR role through a PIM group: response actions on Defender for Endpoint data only, reached through a membership the helpdesk activates. It also says plainly where the limit to client devices has to be set.
What PIM Manager limits, and what it does not
PIM Manager delegates Defender XDR through Unified RBAC. For a group from the Defender XDR template, the engine creates a custom Defender role named exactly like the group, keeps its permissions equal to the template, and assigns it to the group.
| Limit | Set by PIM Manager | Example for a helpdesk |
|---|---|---|
| Permissions: what the role may do | Yes | Response actions only (Response, manage, under Security operations) |
| Data sources: which Defender products the role covers | Yes | Microsoft Defender for Endpoint only |
| Device groups: which devices the role covers | No | Client devices, not servers |
PIM Manager does not limit a Defender XDR assignment to device groups, and it does not set, read or check such a limit. The template’s group names say scoped to client devices or servers, but that is a name, not a limit: the Clients and Servers response groups carry the same permission and the same data source. To keep the helpdesk to client devices, use Microsoft Defender’s own device-group controls for that assignment (step 3).
When the data sources of a live assignment differ from the group’s, PIM Manager changes nothing and writes a warning in the engine log. It does not delete and re-create a Defender assignment on its own.
What you need
- The Admin role in PIM Manager.
- Unified RBAC activated for the Defender workloads in the Microsoft Defender portal (Settings > Permissions > Roles). A Security Administrator does this once; it has no API.
- The engine’s identity, which applies the change, holds the Microsoft Graph application permission RoleManagement.ReadWrite.Defender. The prerequisite line on the template card says whether it does. A Privileged Role Administrator can grant it with the script:
iwr https://invardia.com/support/pim/Initialize-PimWorkloadPrereqs.ps1 -OutFile .\Initialize-PimWorkloadPrereqs.ps1
.\Initialize-PimWorkloadPrereqs.ps1 -Workload DefenderXdr -TenantId <your tenant id>
Rights, changes and undo: Initialize-PimWorkloadPrereqs.
- A department that sponsors the helpdesk, on Reviews & controls > Departments & owners.
Levels
Defender XDR groups are tier T1. In the template, operator and administrator groups are L3, and read-only groups and the response-action groups are L4. The response group used here is therefore L4. Read more in Tiers and levels.
Step 1: import the response group
-
Open Templates > Workload templates.
-
Find the card Microsoft Defender XDR delegation and press Show.
-
Untick every row with the checkbox in the header.
-
Tick the group Defender XDR - Security Operations, Response actions scoped to client devices (tag
Defender-XDR-SecurityOperations-Response-Scope-Clients-L4). The name records your intent; the limit to client devices is step 3. Its role row is ticked with it: a group and its role are one unit. -
Press Import 2 into pending.
-
Open Pending changes > Review & commit queue and press Commit all.
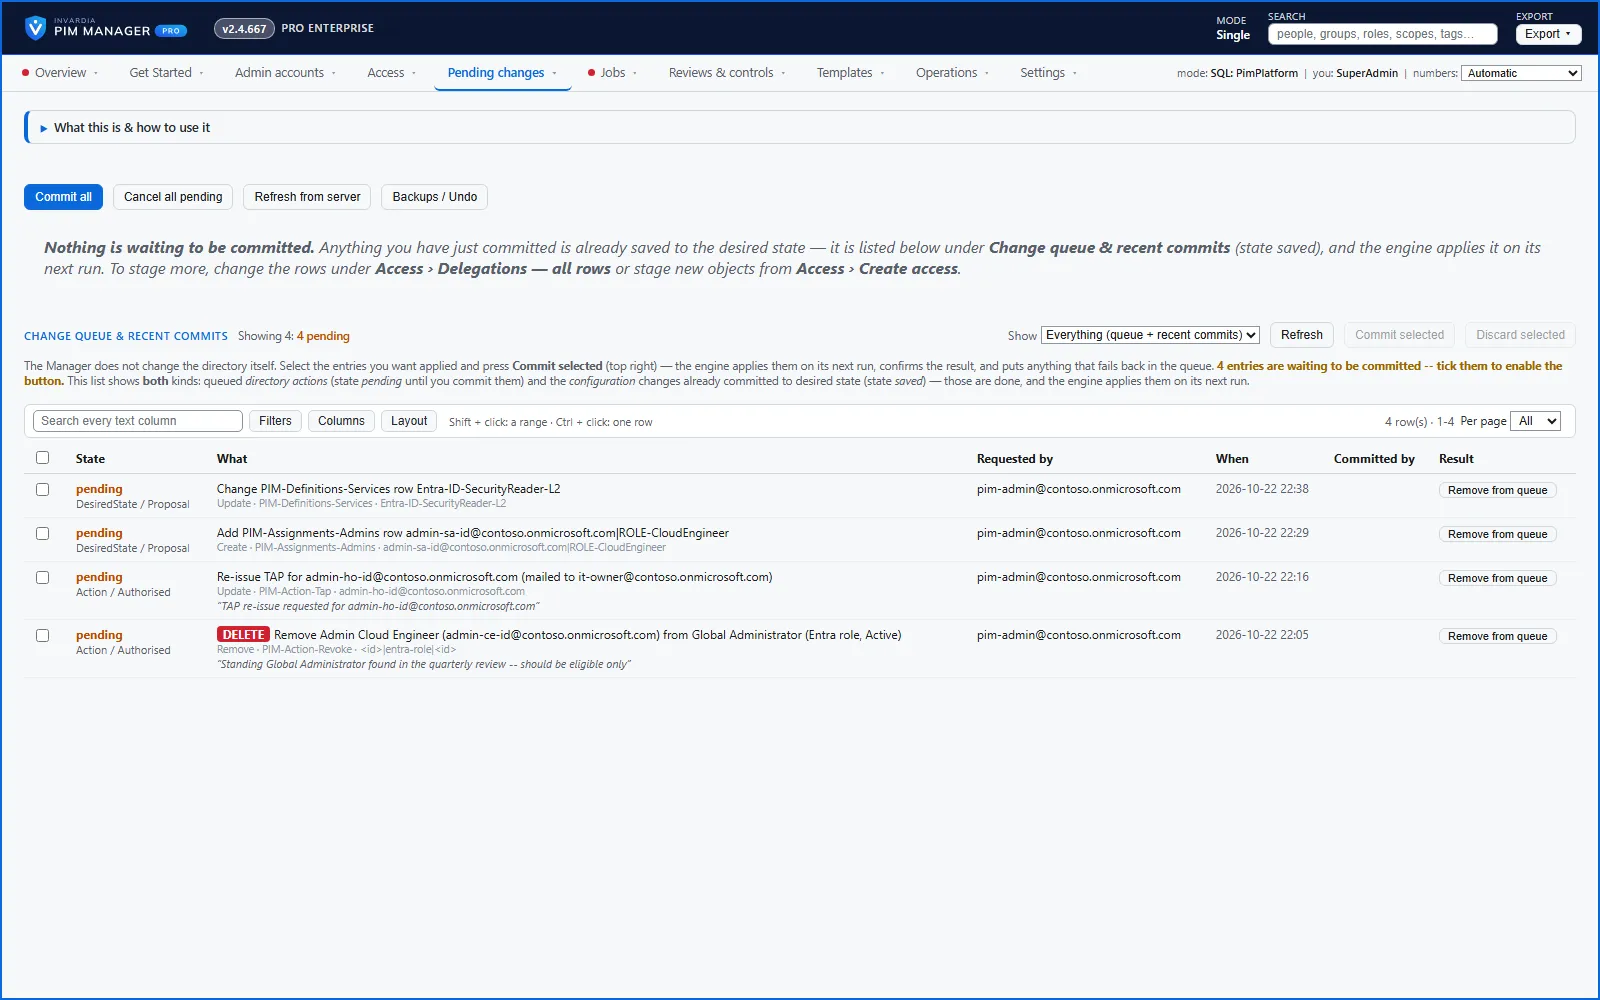
The response group holds response actions only. If your helpdesk must also read alerts and incidents, add a read-only group as well. The template’s Security Operations read-only group covers every data source, including quarantined mail content, so check that it fits before you import it.
Step 2: create the helpdesk role group
- Open Access > Create access and choose Create or update a direct group.
- On What is it?:
- Type of group: Role — ROLE-<short> (the prefix follows your naming settings).
- Short name:
Helpdesk. - Tier: T1, because the group reaches a Tier-1 permission group. The wizard labels the tiers T1 – server/app admin and T2 – workstation/helpdesk, short names from the Active Directory tier model; choose the tier by what the group reaches, as Tiers and levels defines it.
- Department (sponsor): the department that sponsors the helpdesk.
- PIM policy — activating membership of this group: keep Use default, or pick a template that needs approval.
- On Nest perm-groups: tick the response group from step 1. Role-assignable security group? stays No: no Entra role is involved.
- On Add admins: tick the helpdesk admins. Keep Assignment type on Eligible (default) and set Lifetime (days).
- On Review, press Add to pending changes, then commit on Pending changes with Commit all.
Step 3: limit the role to client devices
The device limit is set in Microsoft Defender, on the device groups, not on the role. A Security Administrator does this in the Microsoft Defender portal:
- Open Settings > Endpoints and, under Permissions, choose Device groups.
- Open the device group that holds your client devices, or create one with a rule that matches only client devices.
- On its User access tab, add the response group from step 1 (the group named like
Defender-XDR-SecurityOperations-Response-Scope-Clients-L4). Save. - Check that the response group is not on the User access tab of a device group that holds servers.
PIM Manager does not do this step, and it does not read device-group access. It is therefore not reported as drift, and a later change to it in Microsoft Defender does not show in PIM Manager. Check it in the Defender portal after a change to your device groups.
Check the result
-
After the next engine run, open Jobs > Engine logs & errors. A failed item names the role and the reason.
-
In the Microsoft Defender portal, under Settings > Permissions > Roles, a custom role named like the response group holds the response permission, and its assignment holds the group with the Defender for Endpoint data source.
-
Under Settings > Endpoints > Device groups, the client device group lists the response group under User access, and no server device group does.
-
Access > Discovery & gaps (Pro; not in Community) lists Wrong permissions when a Defender role’s live permissions differ from its group’s.
-
Access > Access map: select a helpdesk admin; the path runs through Helpdesk to the response group.
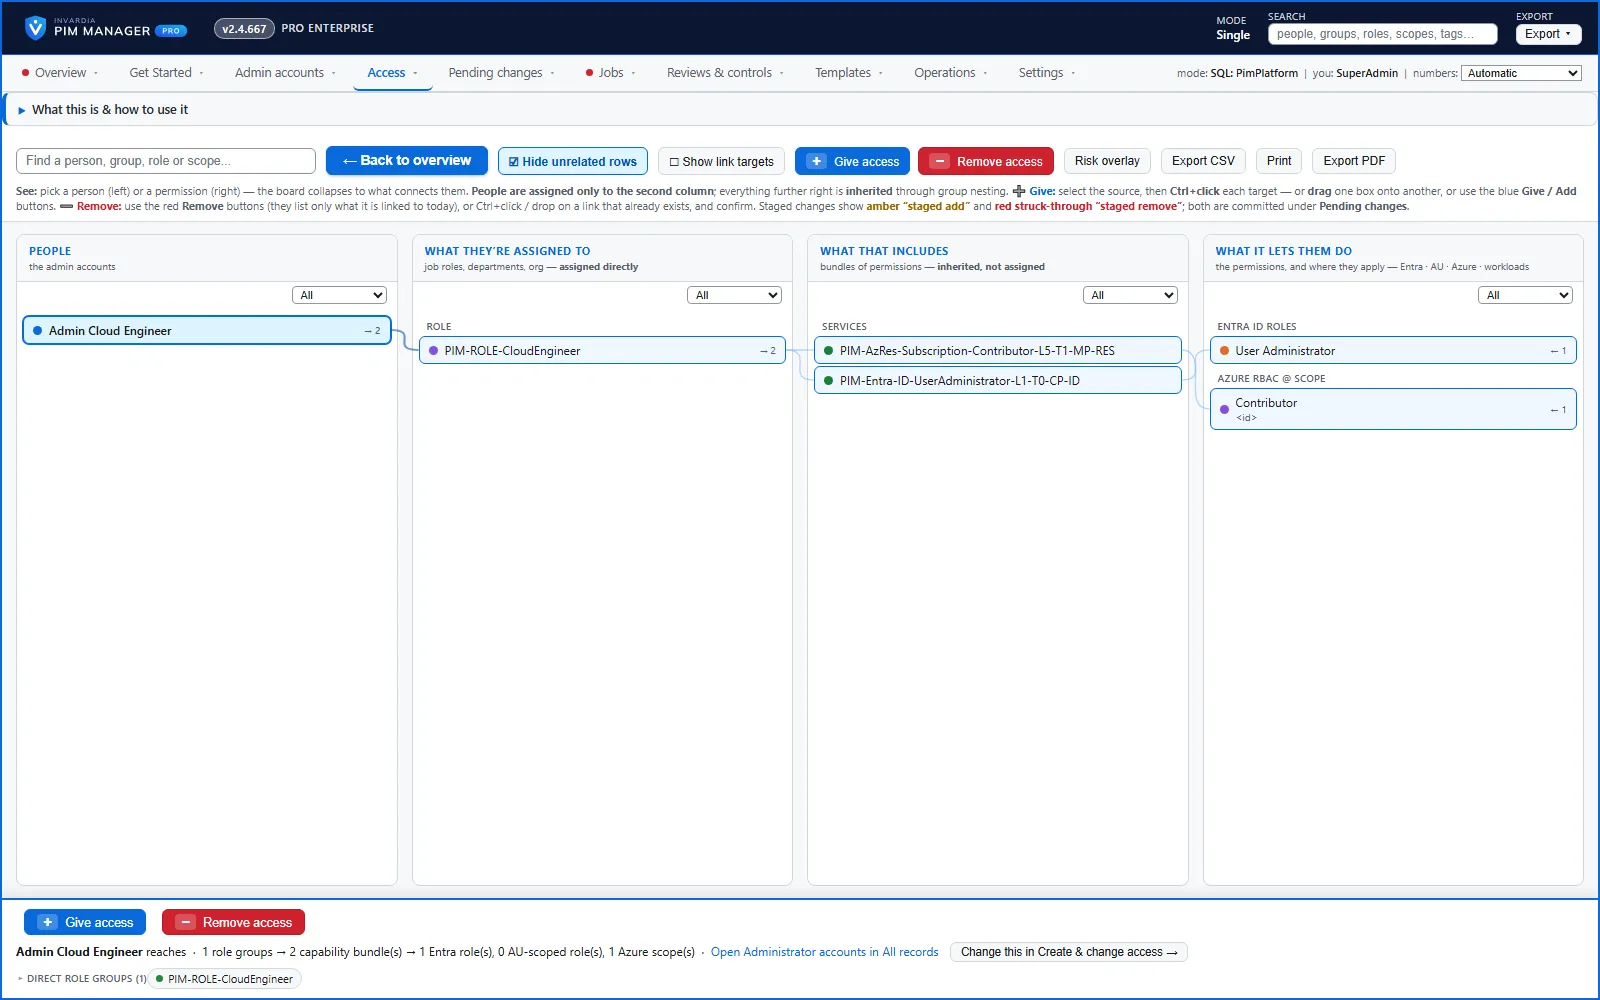
Undo
- Before you commit: Cancel all pending on Pending changes.
- One person: on Access > Access map, select the person and press Remove access, then commit.
- The whole delegation: on Access > Delegations — all rows, remove the Defender row and commit. The engine deletes the Defender assignment only when the group is its only member; an assignment shared with others is left in place and the log says so. You can also undo the commit; see How to undo a commit.
Verified against PIM Manager 3.0.23.3 on Nov 3, 2026Download PDF
← How to delegate Intune rolesHow to use Discovery and gaps →