

PIM Manager documentation · Verified against PIM Manager 3.0.23.3 on Nov 3, 2026
How to activate with the PIM Activator
Eligible access is only useful if you can turn it on quickly when you need it. This guide shows an admin how to activate eligible roles and groups from the PIM Activator browser extension, several at once, and how to hand them back.
What the extension does and how your IT department deploys it is described in PIM Activator.
What you need
- Your IT department has deployed the extension. In Edge it arrives in every profile that is signed in with your work account. A new profile without it: sign in to that profile with your work account (profile picture > Sign in) and wait a few minutes. InPrivate and Guest windows do not run extensions.
- You are eligible for the access you want to activate. The extension cannot give you anything you are not eligible for.
Which profile and which account
Two accounts are involved, and they are usually different:
- The Edge profile is signed in with your everyday work account, because Edge for Business installs the extension only into work-account profiles.
- The popup is signed in with your admin account, the separate cloud-only account PIM Manager created for you. You sign in to it in the popup’s own Microsoft sign-in window.
Use a separate Edge profile for admin work, or a privileged access workstation if your organization has one, so admin sign-ins stay apart from mail and browsing.
What you are asked when you activate
Each group or role follows its own PIM policy. Depending on that policy, an activation asks for multifactor authentication, a justification, a ticket number or an approver. When your organization uses Conditional Access authentication context, Microsoft asks for the stronger sign-in in the sign-in window before the activation completes.
With nested groups, you activate in layers: first your role group, then the permission groups nested in it. A permission group appears in the list once its role group is active. See Nested groups.
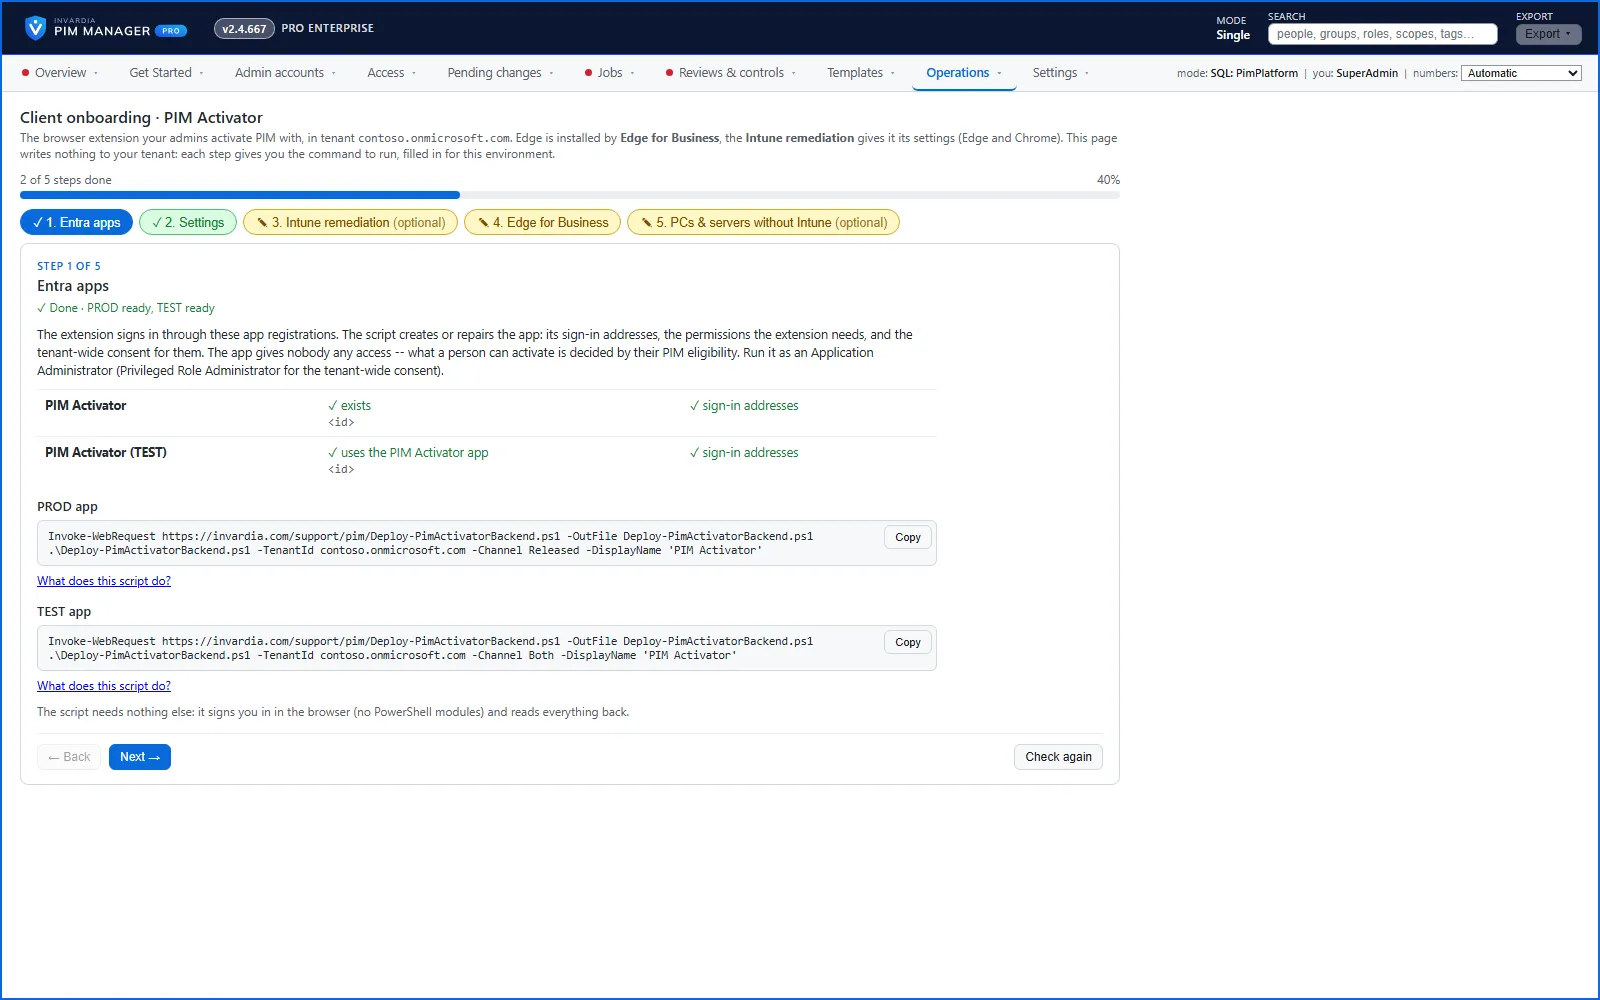
Your administrator prepares the deployment on Operations > Client onboarding in PIM Manager:
Step 1: set up the extension once
- Click the PIM Activator icon in the browser toolbar.
- The first time, the popup shows Welcome to PIM Activator. If your IT department deployed the tenant settings, the popup lists them under Found existing entries in registry / managed policy; pick your tenant. Otherwise, enter the Tenant id and the PIM Activator client id your IT department gives you, and press Save and continue.
- Press Sign in and sign in with your admin account in the normal Microsoft sign-in window.
From then on the popup opens on the Activate tab. You sign in once per browser session.
Step 2: activate
- Open the popup. The Activate tab lists what you are eligible for, in sections: your favorites first, then Entra roles, Azure roles, groups that carry Entra roles, groups that carry Azure roles, and workload groups.
- Narrow the list with Filter groups… or the workload filter, if you need to.
- To see what a group really grants, expand its row. The roles behind it are read live, including what folds out through nested groups.
- Tick the rows you need.
- Check Justification and Duration (hours). Both start from your organization’s defaults.
- Press Activate selected. If you selected many rows (5 by default), the button asks you to click again to confirm.
- Each row shows its own status. A row is marked done only when the access is really assigned to you. A group that needs an approver shows waiting for approval.
If a role’s policy allows a shorter time than you asked for, the extension activates it for that role’s maximum and says so on the row.
Step 3: save time next time
- Click the star on a row to make it a favorite. Favorites stay at the top of every section.
- Tick auto on a group you need every day. It activates at once, and again each time you open the popup. Your administrator may limit how many groups you can mark auto; if you reach the limit, untick another group first.
- The popup remembers your recent justifications.
A typical activation is three clicks: open the popup, tick the rows, press Activate selected. A starred favorite with a remembered justification takes a single click on later days.
Step 4: hand access back
- Open the My Access tab. It shows everything that is active, with the time left.
- Tick what you no longer need and press Deactivate selected, or deactivate a single row.
Access you do not hand back ends by itself when its duration runs out.
Check the result
- Open the My Access tab. Each activated role or group is listed with the time it has left.
- A row that still shows waiting for approval is not active yet; its approver gets Microsoft’s approval request.
- To check outside the extension, open ID Governance > Privileged Identity Management > My roles in the Microsoft Entra admin center and choose Active assignments.
Other ways to activate
The same eligibilities can be activated without the extension, one at a time:
- In the Microsoft Entra admin center: ID Governance > Privileged Identity Management > My roles, then the Microsoft Entra roles, Groups or Azure resources tab, and Activate on the row.
- In the Microsoft My Access portal, for an eligible group membership.
The same PIM policies apply there. See PIM Activator.
If something does not work
| You see | Do this |
|---|---|
| A role you expect is missing | Press Reload Permissions. A new eligibility can take a few minutes to appear. |
| The popup looks wrong after a permission change, or you switched browsers | On My Access, press Re-sign in. |
| The policy for this role does not allow … and its maximum could not be read | Lower the Duration (hours) box and try again. |
| A permission group you expect is not listed | Activate its role group first, then wait a moment; it appears once the role group is active. |
| Throttling message on a row | Wait. The extension waits as long as Microsoft asks and tries again by itself. |
| The extension is not in your browser | Check that the Edge profile is signed in with your work account, then ask your IT department. |
Verified against PIM Manager 3.0.23.3 on Nov 3, 2026Download PDF
← MSP: how to roll a change to one waveHow to offboard an admin →